How do you actually feel in regards to How to Install a Shower Drain in a Basement?

Upgrading a shower room is one of the much more preferred residence improvement jobs. Dealing with the plumbing for draining your shower can be extremely basic unless you go overboard.
Managing Your Own Shower Drain Installment Project
Whether you are a bath tub or shower individual, lots of people look for shower only alternatives when purchasing a home. This basic reality implies greater than a couple of property owners invest a weekend updating or installing showers in their washrooms. Luckily for you, it is a fairly basic procedure.
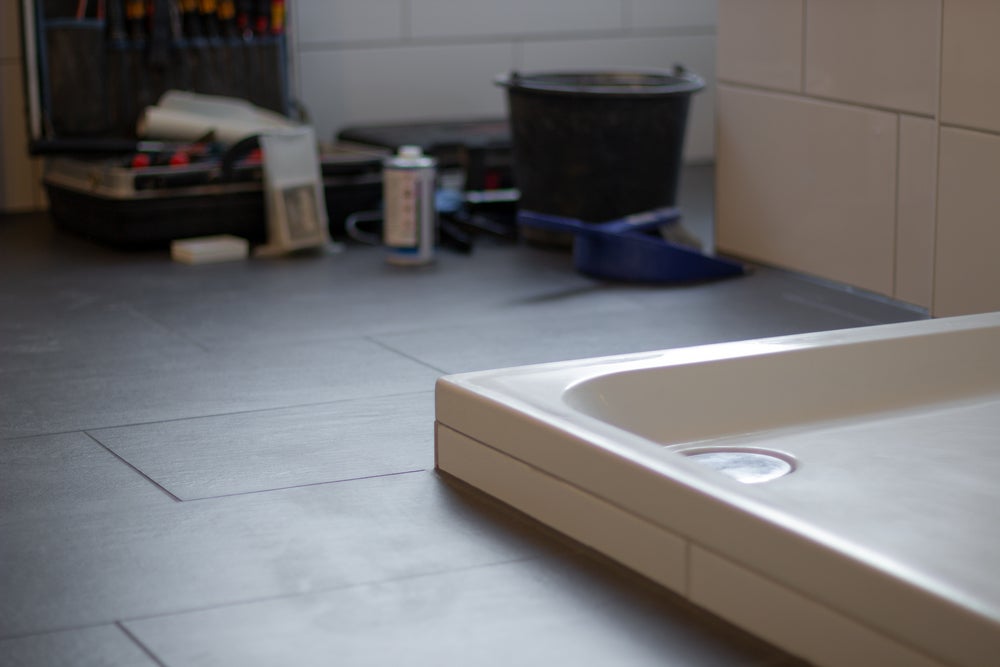
An enthusiast or frying pan refers to the horizontal surface area located at the bottom of the shower. The collection agency normally contains a non-slip surface area somewhat banked towards the facility or any place the drainpipe is located. Combined with 3 to four inch wall surfaces around the side, the objective of your shower water drainage plumbing is to get the water to stream to as well as down the drain.
You can literally construct a collection agency for your new shower, yet you actually require to consider it. Do you truly want to enter into the complications of obtaining the sloping correct, in addition to seeing to it every aspect of it is water-proof? And also I mean every aspect! It is a lot easier to simply get a pre-cast collector online or at your regional Lowes, Residence Depot or hardware shop. Building one might sound like a great idea, however you will most likely really feel in a different way after a number of hrs.
Regardless of how you go about getting a pan, you should make every effort to utilize one that has the drain situated in the very same place as the initial pan. Moving the drainpipe pipelines can be a job, especially if the builder used an one-of-a-kind framing framework. If you are established to relocate the drainpipe, you are mosting likely to have to cut back the pipeline or extend it, which may suggest ripping up huge chunks of the flooring. Rephrase, you are going to be looking at a numerous weekend job.
Assuming we have our drainpipe aligned, the real hook up is relatively straightforward. The drainage pipeline should be dealing with upright approximately the collector. It will usually resemble a "U", which suggests it acts as a cleanout to keep nasty smells from coming back up from the drainpipe. To attach the drainpipe, you are mosting likely to develop a water limited link between a drain cap on the top of the pan and also the water drainage pipeline. Solutions vary, yet you are typically mosting likely to do this by placing a combining item on the top of the drainage pipeline. This is then covered with gaskets and essentially screwed right into the drain cap. The drainpipe cap ought to act as a locknut, to wit, it screws straight onto the coupling.
The tricky part of this procedure is getting your drainpipe cap to fit into a water tight setting in the frying pan. This is achieved by withdrawing the drain cap as soon as you are sure everything meshes. Then, you put plumbing professionals putty around the underside of the cap and afterwards screw it back on. The putty should develop a limited seal in between the cap and the shower pan, which maintains water from dripping under it and also right into the framing under the shower.
Clearly, shower room showers come in a wide range of styles nowadays. If you buy a collection agency, they generally featured plumbing directions or the store can note anything unusual you ought to recognize. It appears complicated, yet is usually rather simple. Have a good time!
STEEL BUILDERS
properly installed shower drain can be the difference between staying dry and disaster. The water flowing down your shower drain requires a proper outlet connection; otherwise, you run the risk of flooding.
With so many different types of drains on offer nowadays (from linear shower drains to grates of all shapes and sizes), there are lessons to be learned about each type before installing one yourself. Whether it’s standard or custom, Steel Builders is here to help you install your shower drain.
SMALL FLOOR WASTES
Small Floor Waste drain products are available in various patterns and sizes to suit a wide range of uses. Welded from 316 stainless steel, these small floor waste drains provide minimal visual impact and a sleek finish that will make your bathroom or shower stand out.
LINEAR SHOWER DRAIN
We’d love to tell you that you can just dig a hole, throw a grate on top and call it a day. But when it comes to installing a linear shower drain and grate, there’s a whole world of possibilities that go beyond functionality. Shower drains can actually add a great deal of value to your bathroom, with a variety of designs and finishes available. Get creative with your shower drains.
CUSTOM SHOWER GRATES
When a standard shower grate installation doesn’t work, you’ll need to consider a custom shower grate and drain modification to suit your application. We offer three top finishes: line patterns, heelguard or tiled inserts.
SHOWER GRATE INSTALLATION STEP BY STEP
https://www.steelbuilders.com.au/blogs/news/how-to-install-a-shower-drain-steel-builders
Do you like reading up on How to Install a Shower Drain in a Basement? Try leaving a remark below. We would be pleased to listen to your opinion about this blog post. We are looking forward that you come back again in the near future. I beg you take a moment to promote this article if you appreciated it. I thank you for reading our article about Simple Steps for Installing a Shower Base.